One of the only things to be completely revamped in the Nintendo Switch’s The Legend of Zelda: Link’s Awakening remake is the Fishing Pond, made a bit more robust by the addition of fish sizes, more fish types, three different lures, and more rewards.
Each fish you catch visibly varies in size and will be measured in inches, allowing you to keep at it to beat your record and awarding different Rupee amounts based on how large the fish actually is. The same two types of fish from the original return in the remake: small orange Runts and larger green Lunkers are what populate the fishing pond when you first start the game.
However, three more types of fish were added to the pond in the Switch version of Link’s Awakening, bringing the total up to five fish types. Of course, with more types of fish to catch comes more rewards for catching them! Below you’ll find a comprehensive guide for obtaining all the fish in Link’s Awakening and bleeding the fishing pond dry.
How to fish in The Legend of Zelda: Link’s Awakening
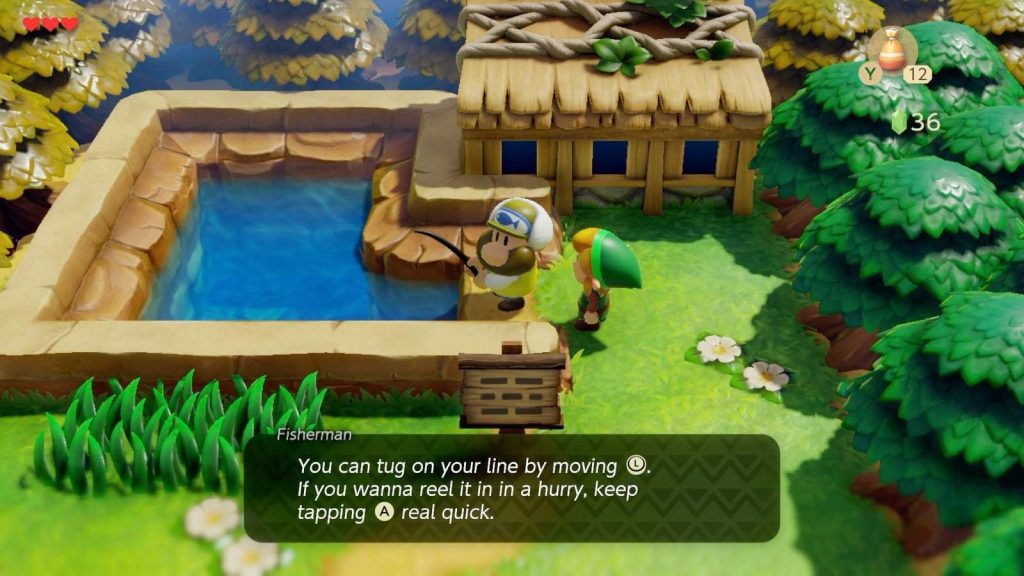
Catching fish in The Legend of Zelda: Link’s Awakening is pretty simple:
- Cast your line into the pond by holding “A” and releasing it. A longer press means the lure will go further into the pond. You can also make slight adjustments with the control stick once the lure is in the water, wiggling the lure back and forth this way can also make fish take notice of it a little easier.
- Once a fish notices and takes a bite, the battle is on! Rapidly pressing “A” while the fish is facing you will reel it in quick, but when the fish starts to swim away from you, you’ll only want to press “A” about once per second to avoid breaking your line while keeping the fish from swimming too far away.
The Legend of Zelda: Link’s Awakening fish types
There are five types of fish to catch in The Legend of Zelda: Link’s Awakening for Nintendo Switch.
| Fish Name | Description |
|---|---|
| Runt | The Runt is a small red fish that nets you a low amount of Rupees. |
| Lunker | The Lunker is a large fish that’ll net you a moderate amount of Rupees. |
| Cheep Cheep | This Mario series enemy only appears after clearing Angler’s Tunnel. This fish is new to the Nintendo Switch remake of Link’s Awakening. |
| Blooper | This Mario series enemy only appears after clearing Catfish’s Maw. This fish is new to the Nintendo Switch remake of Link’s Awakening. |
| Ol’ Baron | Ol’ Baron is a massive blue fish worth at least 90 Rupees. This fish only appears after clearing the Face Shrine and is new to the Nintendo Switch remake of Link’s Awakening. |
The Legend of Zelda: Link’s Awakening Fishing Pond lures
There are three different types of lures to use in The Legend of Zelda: Link’s Awakening for Nintendo Switch, which help you catch bigger and bigger fish:
- Lightweight Lure
- Middleweight Lure
- Heavyweight Lure
The Legend of Zelda: Link’s Awakening Fishing Pond rewards
The following are received as rewards via the Fishing Pond:
- Rupees (amount varies based on fish — see above)
- Two different Pieces of Heart
- A Fairy Bottle
- Two different Secret Seashells
- Two different Chamber Stones
Fishing before completing Angler’s Tunnel
How to get the two Pieces of Heart
Catching your first fish, no matter which type or how big it is, will net you a Piece of Heart. In the original Link’s Awakening, this was the only non-Rupee reward available, and you had to catch a specific fish to obtain it. This time around you can obtain a second Piece of Heart by catching any fish over 20 inches long, which can easily be accomplished by catching one of the larger green Lunkers in the pond.
How to get the Middleweight Lure
After catching your first Lunker of any size, you will also be rewarded with the Middleweight Lure, which sinks to the bottom of the pond a bit easier.
How to get the Fairy Bottle
If you look close enough, you’ll also notice that there is a Fairy Bottle poking out of the seaweed on the lower left side of the pond. Once you obtain the Middleweight Lure, this will be a lot easier to obtain. It’s a good idea to catch the fish swimming in the seaweed along the bottom of the pond first, since it’ll try and knock the bottle off your line when you reel it past.
Cast your line as far as you can and wait for the lure to sink to the bottom on the other side of the bottle, once you begin to reel it in, you’ll catch the bottle and begin to slowly reel it towards you. As mentioned previously, any fish that get in your way will still notice the lure and attempt to bite it, knocking the bottle off, causing it to sink to the bottom. Keep at it with enough patience and proper timing and you’ll be rewarded with the game’s first Fairy Bottle!
Fishing after completing Angler’s Tunnel
For the first half of Link’s Awakening, the Fishing Pond will only be home to Runts and Lunkers, but once you progress past the fourth dungeon, Angler’s Tunnel, the fishing pond will be home to the Cheep Cheep, a classic Mario enemy that has also made its home on Koholint. You can tell when a Cheep Cheep is around before you even start fishing by the glowing light that shines from the pond when you approach it.
How to catch a Cheep Cheep and get the first Secret Seashell
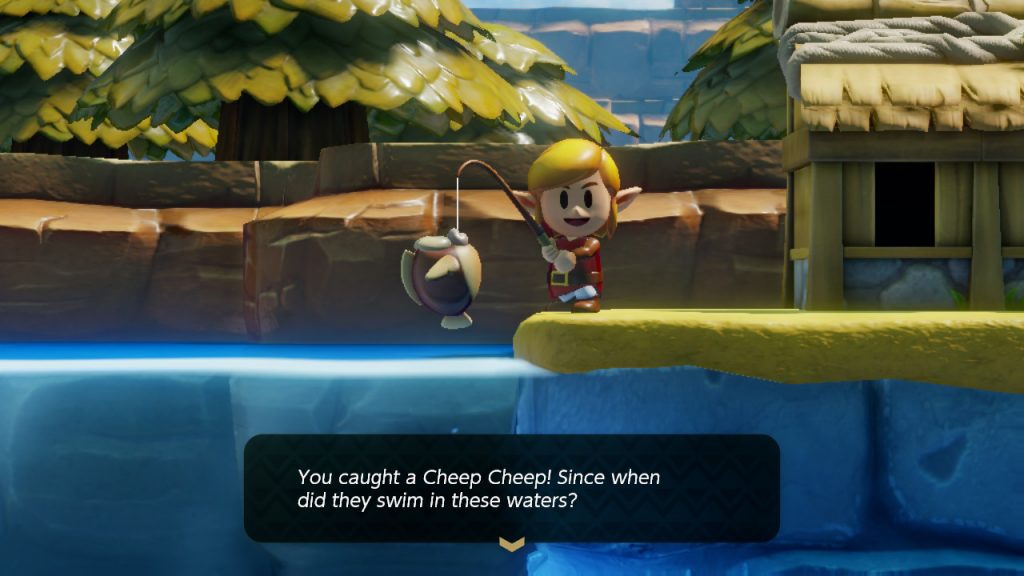
Cheep Cheeps like to hang out near the surface of the pond, so bring along your basic Lightweight Lure for this one. Once the Cheep Cheep grabs your line, start to reel it in like any other fish, when he attempts to swim away, press A about once a second until it jumps straight up out of the pond, like Cheep Cheeps do. When it jumps you want to stop reeling completely, as any press of the “A” button while it’s out of the water will break your line. Catching your first Cheep Cheep will reward you with one of the game’s Secret Seashells.
Fishing after completing Catfish’s Maw
After beating the fifth dungeon, Catfish’s Maw, you’ll find that Bloopers, another classic Mario enemy, have made their way into Koholint’s Fishing Pond. Now, the glowing light you see at the pond can now signify that either a Cheep Cheep, a Blooper, or both are present in the pond.
How to get the second Secret Seashell
It’s at this point you’ll be able to get the Fishing Pond’s second Secret Seashell by catching a fish over 40 inches in length.
How to catch a Blooper and get the Heavyweight Lure
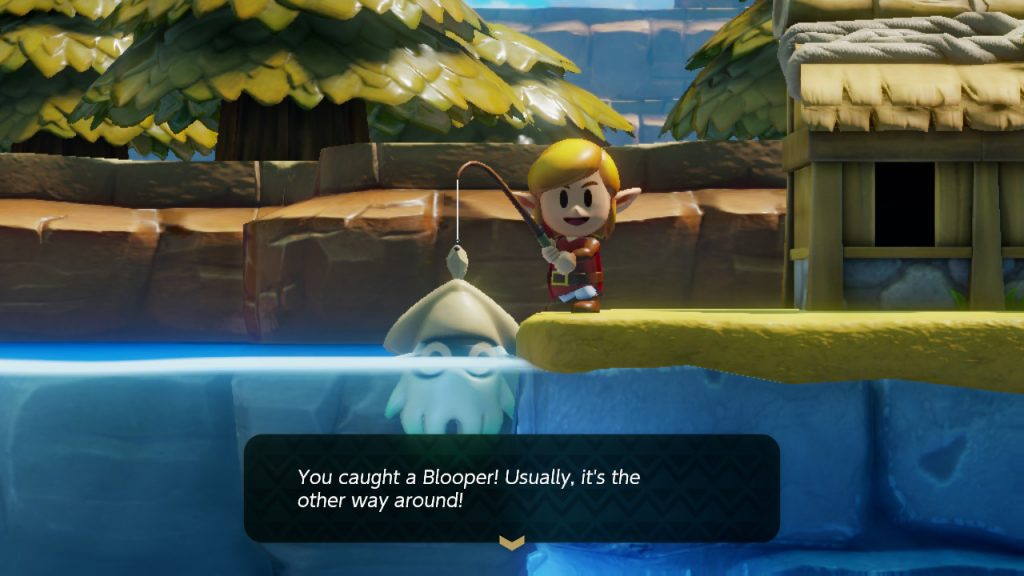
Bloopers behave exactly like they always have, floating back and forth in the water, this time around the middle of the pond. The Blooper’s slightly erratic movements mean it’ll be hard to get it to bite, but if you’re patient and keep wiggling your lure in its general area, it should bite eventually. Once it does, it can be tough to keep on your line, but the trick is to only press “A” to reel in when the Blooper is sinking. Once it begins to rise toward the surface, stop reeling completely.
Catching your first Blooper will earn you the Heavyweight Lure, which sinks to the bottom fast enough that any fish not on the bottom of the pond won’t be able to bite it while it’s sinking.
Fishing after completing the Face Shrine
The fifth and final fish type, Ol’ Baron, will only appear after beating the sixth dungeon, Face Shrine. Head back to the Fishing Pond and make sure the glow signifying Cheep Cheeps and Bloopers are spawning is there. Ol’ Baron is pretty rare (even with the glow, the spawn isn’t guaranteed), but I’ve only seen it spawn at the same time as the glow. If the glow isn’t present, either head into a building to reset the pond, or spend 10 Rupees to start a fishing session, then you can back out immediately, or catch a fish to get your Rupees back.
How to catch Ol’ Baron and get the two Chamber Stones
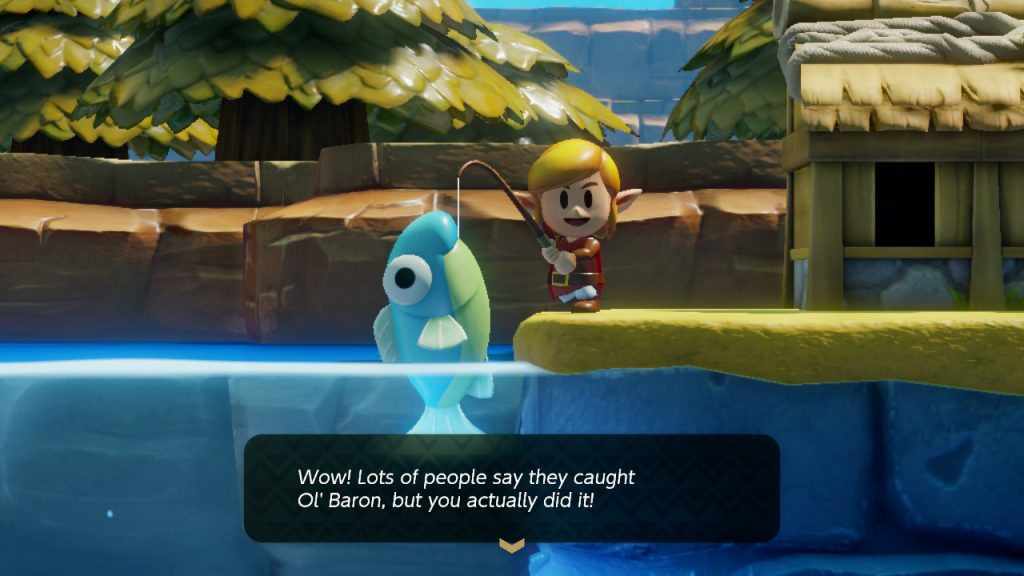
Ol’ Baron will always spawn at the very bottom of the pond, so bring along your brand new Heavyweight Lure. As far as we can tell, there isn’t a trick to catching Ol’ Baron: just that it’ll break your line easier if you get too greedy and try and reel in too much while it’s swimming away from you. Catching this massive fish for the first time will net you a Chamber Stone to use over in Dampe’s Shack, and catching an Ol’ Baron over 60 inches long will net you a second Chamber Stone.
Fish your heart out!
Once you progress past Face Shrine and you really get the hang of catching each of these fish, fishing is a great way to rack up Rupees with little investment. A lot of the bigger Lunkers will more than double what you spend, while bigger Cheep Cheeps and Bloopers will start netting you quadruple or more. To top it all off, Ol’ Baron is worth around 90-100 Rupees each time you catch it. Just like in real life, fishing in The Legend of Zelda: Link’s Awakening will take time, patience, and practice, so keep at it.
Do you have any of your own Link’s Awakening fishing tips? Let us know about them down in the comments!
More The Legend of Zelda: Link’s Awakening guides
It’s dangerous to go alone! Check out some of our other helpful guides and walkthroughs for your journey across Koholint Island:


