


Welcome to the start of our Nintendo Wire Home Arcade series. To celebrate my 40th birthday and the 10 year anniversary of Nintendo Wire, I’m making a childhood dream come true: building the ultimate home arcade.
Preparing the Space
Fast forward to today, and I’ve set aside a 12 by 6 foot space to transform into an arcade. While it isn’t a massive area, it’s more than enough to build something special.


Choosing the Right Carpet
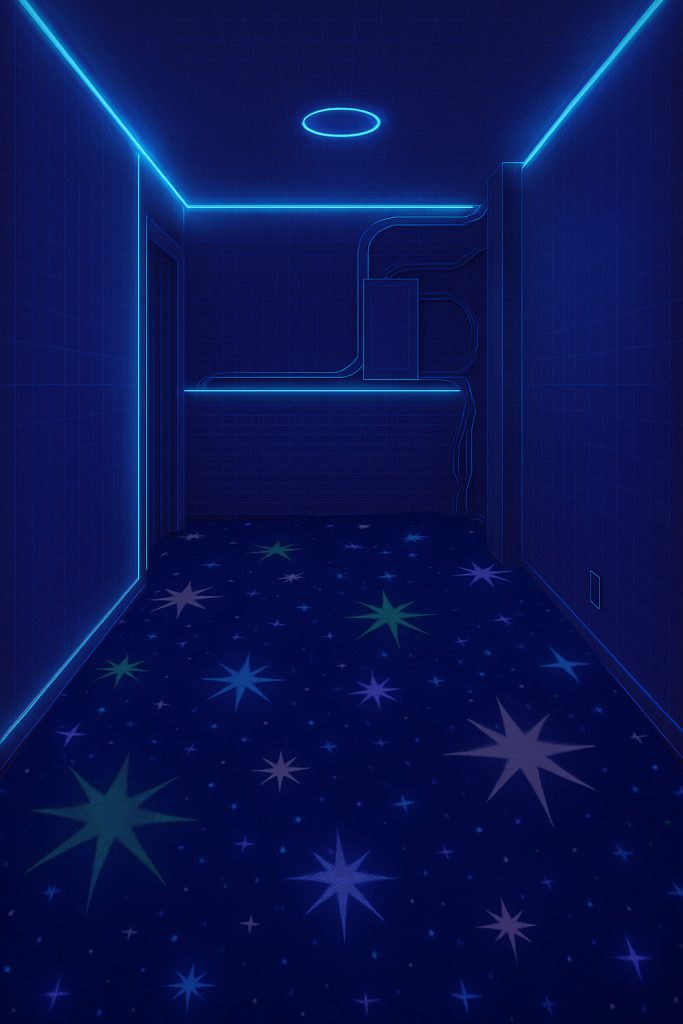
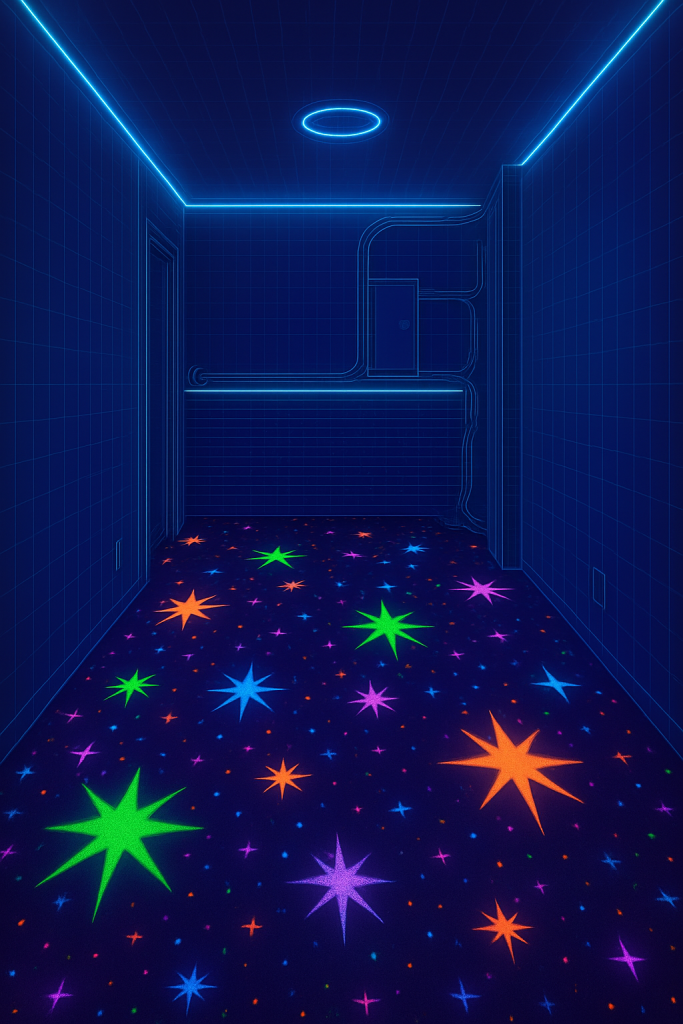
The goal was to find something that looked and felt like classic arcade carpet from the 1980s and 1990s. Think stars, planets, and bold patterns that should look amazing under the right lighting.

After reaching out to several carpet installers and getting nowhere, I shifted to Plan B: a rug. I found a 12 by 6-foot rug from a company called Joy Carpets on Amazon. It had the exact aesthetic I wanted and was rated to glow under black light. It cost about $250 and was much easier to install than traditional carpet.
Installing the Lighting
To bring the space to life, I installed a central LED ceiling light from Govee. It cost about $60 and required replacing the existing fixture. If you’re not familiar with wiring, I recommend asking for help, as this isn’t a plug-and-play solution.
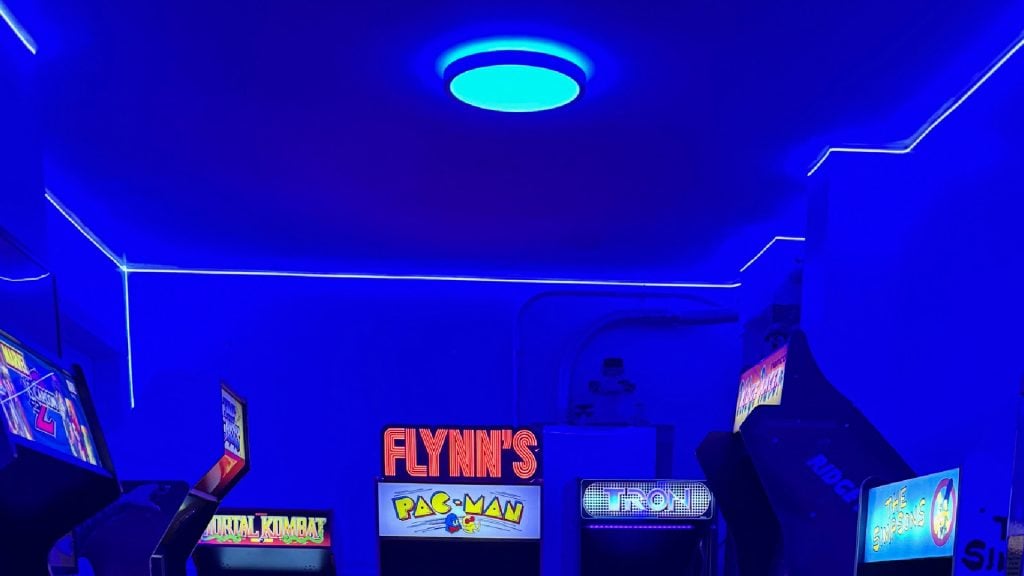
For accent lighting, I used three strips of 24V blue LED lights at $15 each. These didn’t come with power adapters, so I bought three at $15 each, plus a pair of dimmers for about $10. A diffuser was also essential to give the lights a smooth, even glow across the ceiling instead of showing individual dots. Altogether, the lighting setup came in at around $140.
I mounted the LED strips around the ceiling and along a small shelf to give the space a warm, ambient glow. The adhesive backs on the strips worked well, but be careful —removing them can pull paint from the wall.
Adding the Finishing Touches
With lighting and carpet in place, the next step was decoration. Thanks to some friends at GameStop, I framed and mounted several Mario posters. I also added a personal favorite: a custom Flynn’s Arcade sign inspired by the movie Tron. It’s a little smaller than I imagined, but it fits the space perfectly and brings the theme together.
The Current Setup
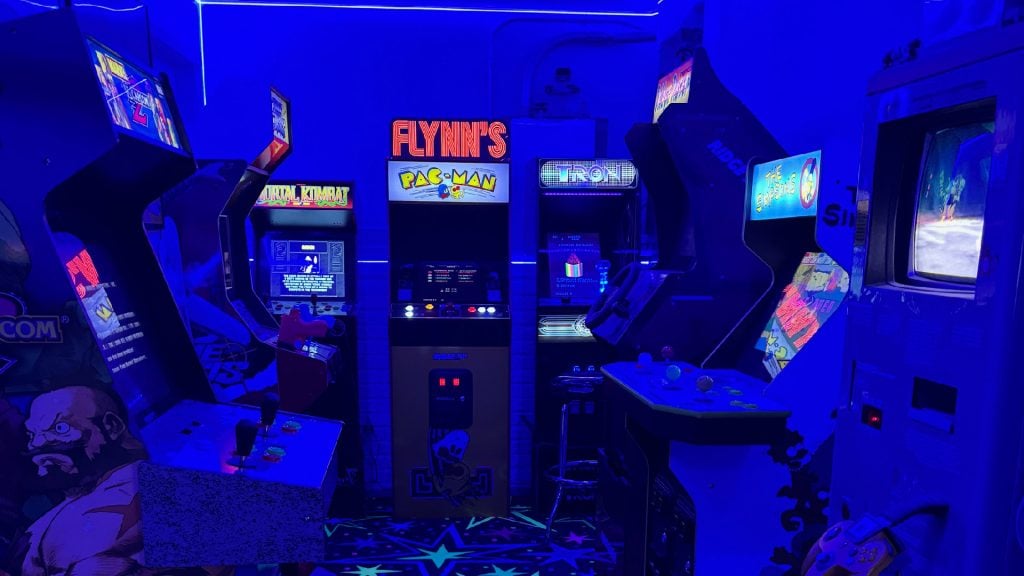
At this point, with the lighting, rug, and wall decor installed, the space already feels like an arcade. The cabinets haven’t been moved in yet, but even without them, it’s clear the room is transforming into something special.
What’s Next
In the next parts of the series, we’ll be exploring:
- Modern home arcade cabinets from companies like Arcade1Up
- Full-size arcade machines from the 1980s and 1990s
- Video game retail kiosks
- A full feature on Stern Pinball, including accessories they provided to help us show just how far you can take a home pinball setup
Thank you for following along with Part 1! There’s a lot more to come, and I can’t wait to share the rest of this project with you.
Leave a Comment
Written by Jason Ganos
Nintendo super fan since birth, Jason is the creator of Amiibo News and editor-in-chief at Nintendo Wire. One of his life goals is to provide the latest Nintendo news to fellow gamers with his natural know-how.